- Home
- Gallery and Artists
- About BAMM
- Members Area
- Resources
- Prompts from the Pros
- Prompts from the Pros - Sophie Robins
- Prompts from the Pros - Rachel Davies - Interwoven
- Prompts from the Pros - Lawrence Payne
- Prompts from the Pros - Alex McHallam
- Prompts from the Pros 2 - Escape with Bonnie Fitzgerald
- PftP2 Francesca Busca Eco Artivism - Fabric
- PftP2 Francesca Busca Eco Artivism - Metal
- Prompts from the Pros 2 - Francesca Busca Eco Artivism - Paper
- Prompts from the Pros 2 - Francesca Busca Eco Artivism Plastic
- Prompts from the Pros 2 - Joanna Kessel
- Prompts from the Pros - Helen Miles
- Prompts from the Pros - Julie Sperling
- Prompts from the Pros - Kelley Knickerbocker
- Prompts from the Pros - Marian Shapiro
- Prompts from the Pros - Rachel Sager
- Suppliers
- Materials & Techniques
- History of mosaic
- BAMM Talks and Demos
- Useful links and groups
- Mosaichiamo La Citta Application Form
- Prompts from the Pros
- Workshops/Exhibitions
- News
British Association for Modern Mosaic
School mosaics: Riverside
Read this guide in conjunction with the guide entitled 'making mosaics' because that explains the ‘mesh’ method used here.
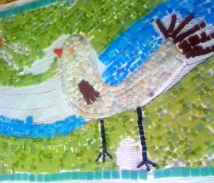
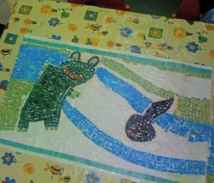
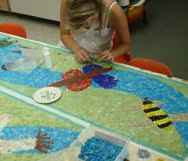
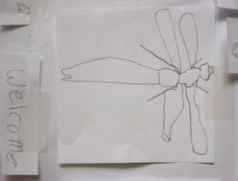 This mural involved two YEAR ONE classes totalling seventy children. They were addressed as a group and then prepared some drawings on the theme of ‘the riverside’.
The drawings were submitted to the artist and several were chosen and blown up.
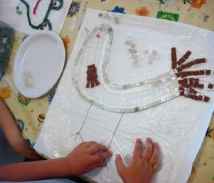
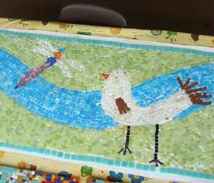
Groups of six children worked on the features, bee, frog, tadpole etc working on mesh, others worked on the large backgrounds (in two large pieces, also on mesh), leaving space for the mosaic animals to be dropped in later.
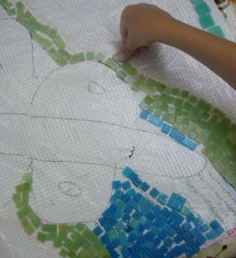 The children cannot feasibly all work on the piece at the same time and this method means the work can be divided up and assembled later. Other children in the group worked on separate mosaic patterns (not shown here) taking it in turns to work on the big piece. The project took three sessions of three hours, not including installation. All the cutting of tiles was done in advance. (approx 10 hours by various volunteers!).
You will need
* mesh
* plastic to go behind the mesh
* large drawings (it is easier working on a big scale)
* willing volunteers to cut vitreous glass tiles in a variety of colours, 20x20 and/or 10x10mm for the background.
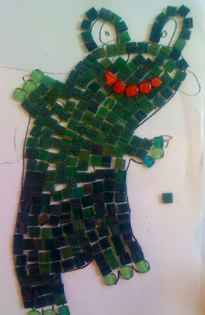
* Each ‘animal’ was prepared in advance by the artist and supplied as a kit of parts, with mosaic tiles cut up in all the right colours. But no adult hand placed the tiles!
* A wall to stick it to!
 Instructions:
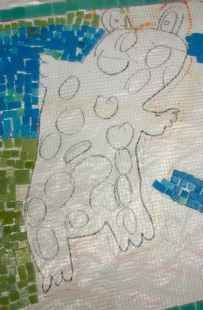
Prepare the polythene/mesh and photocopied drawings for the main illustrations and the background.
Divide the children up into groups. Someone with experience needs to talk to the children about how to approach laying the tiles in a meaningful way. Refer to the article mentioned above for general notes about creating mosaics with children.
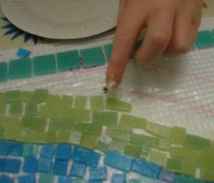
Let the children work on the background but leaving adequate space to drop in the mosaic animals/insects etc., when they are completed.
Complete the individual animal mosaics, turn them over and peel off the polythene to allow the back to dry.
When dry, stick the mosaic into place on the background. Then tidy up all the edges so it appears seamless. When this is stable turn over the whole background, peel off the polythene and turn allowing it also to dry on the back.
When complete, install outdoors using BAL mosaic fix and then grout ensuring all the edges are neatly tucked in and there are no sharp edges exposed.
© Anne Cardwell October 2008
![]()
![]()